


The Process
1. ROOM PREPARATION
The room needs to be clear. We can help with taking carpets up but ideally the carpet would have already been removed and the floor fully inspected by us when we came to quote. That way there are no surprises lurking under the carpets!
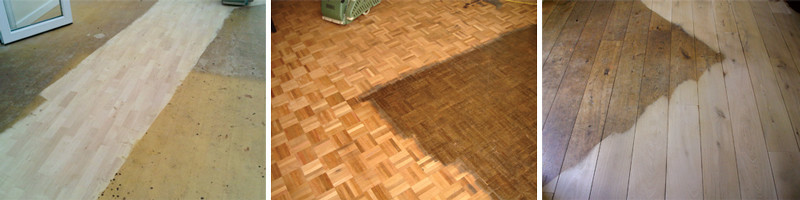
2. SANDING
We use the “Rolls-Royce” Lägler range of sanders, spinners and finishers when sanding the floors. They have high capacity dust extraction systems and achieve smooth floors and are 99% dust free. They are very different from the machines that can be hired. Inevitably, to achieve the final results we will get on our knees and finish the inaccessible or delicate areas by hand.
3. FINISHING/SEALANT
The floor is now untreated and needs to be sealed for protection. As a rule we apply three coats of satin polyurethane sealant, with gentle sanding between coats. There is a choice of sheens and we adjust the polyurethane dependent upon the use of the room. We like to leave the floors looking as natural as possible but each floor looks slightly different once the sealant is applied. The result is a beautiful natural look which is long lasting and requires minimal maintenance.
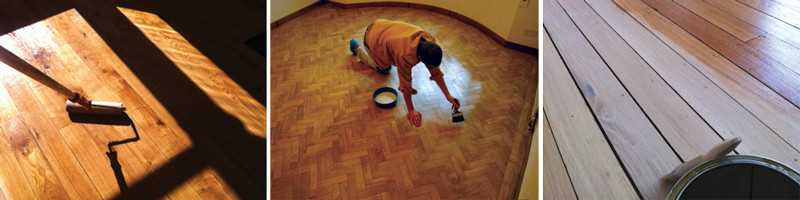
4. DRYING
During the sealant application, the room should be room-temperature and must remain dust free. Drying times depend on the condition and age of the floor but typically polyurethane sealant takes 2-3 hours to dry and we apply three coats. Once the final coat has dried you can walk on it, but the surface is still delicate The floor needs time to harden, so you need to be careful of hard sharp objects on the floor for the first week.